|
|
|
|
Below are some images of the VRMLmagic design environment (ie. user interface). For more specific details on the interface take a look at the User Manual.
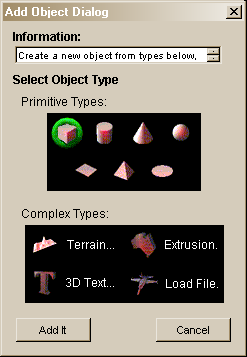
This dialog allows you to add an object to the world. Simply use the menu Objects - Add Object to bring up the dialog.
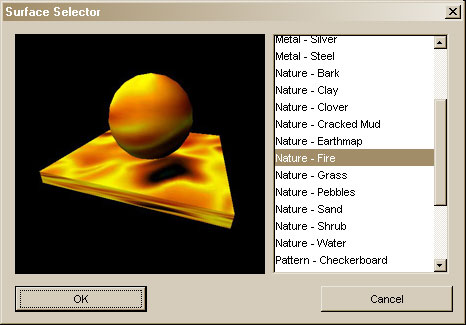
This is the pre-defined surfaces dialog, here you can choose from a set of pre defined object surfaces. When selected these surfaces will be applied to your object. Note that you can also use these as starting points (ie. select a pre-def thats close to what you want then individually alter attributes such as color, transparency, shininess, texture to get the desired result).
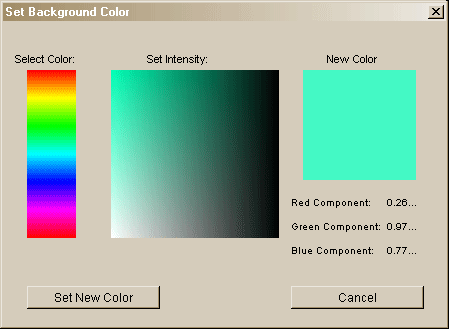
This is an example of the color setting dialog (in this case its for setting the worlds background color ie. menu Environment - Set Background Color).

The extrusion tool enables you to specify an image (b&w is best) to be extruded into a 3D object. This is a simple way to build a company logo or heading. Choose the Objects - Add Object menu item and then select an Extrusion object to bring it up.
The working environment consists of a menu / tool bar and a series of interactive 3D view windows. The images below give some examples of these windows. You can work within a single window, or as is more commonly the case have a main window (ie. perhaps in 4 view mode) and a series of "view" windows, each showing the perspective that one camera has of the world.

The menu / tool bar enables you to control the interactive 3D views and how you use them. It also allows you access to tools for adding and creating new content (eg. add objects, lights and cameras etc).
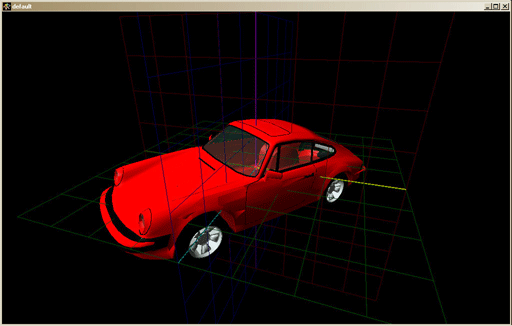
The full view windows simply provide the view as it will be seen by a specific camera, you can have as many of these as you need (eg. perhaps one for each camera). In this view you can interactively manipulate (position, rotate etc) the objects, lights and cameras to get the desired result.
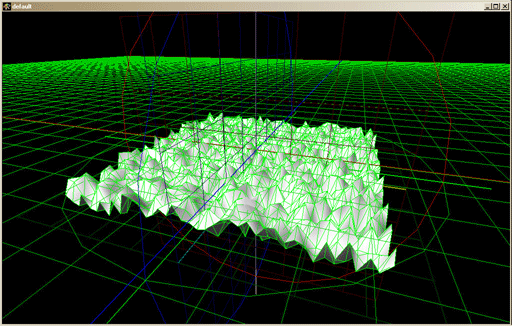
This example shows the interaction plane (ie. the highlighted green XZ plane), this visual aid is to help you manipulate (move etc) items in the world (note that the visual aid can be turned on/off as desired and that you can set the interaction plane to be any of XY, XZ or YZ).
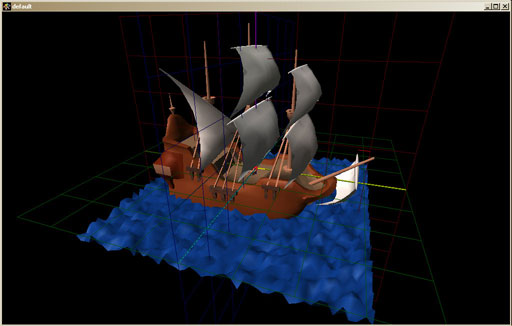
This screenshot shows a full view window of a galleon object sitting on a terrain object, such objects can either be created (eg. the terrain) in VRMLmagic or be loaded in (eg. the ship).
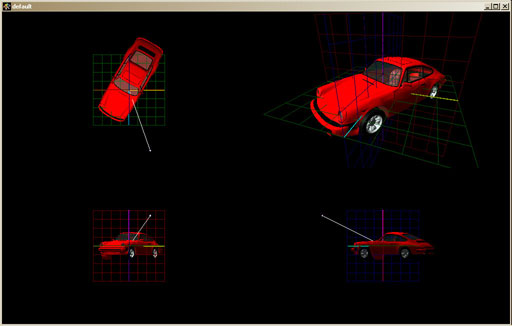
This screenshot shows a 4 View window in VRMLmagic. These windows enable you to work interactively in any of the top/front/side views as well as the camera view (top right corner). We find this is effective for accurately placing items in the world.